Wood Cladding Installation Services Overview
This page helps property owners learn about wood cladding installation services and compare local contractors who perform the work.
- - Residential homeowners seeking to enhance the appearance and durability of their homes with quality wood cladding installations.
- - Commercial property managers looking for reliable local contractors to upgrade building exteriors with professional wood cladding services.
- - Renovation specialists and general contractors needing skilled service providers to handle wood cladding installation projects on various property types.
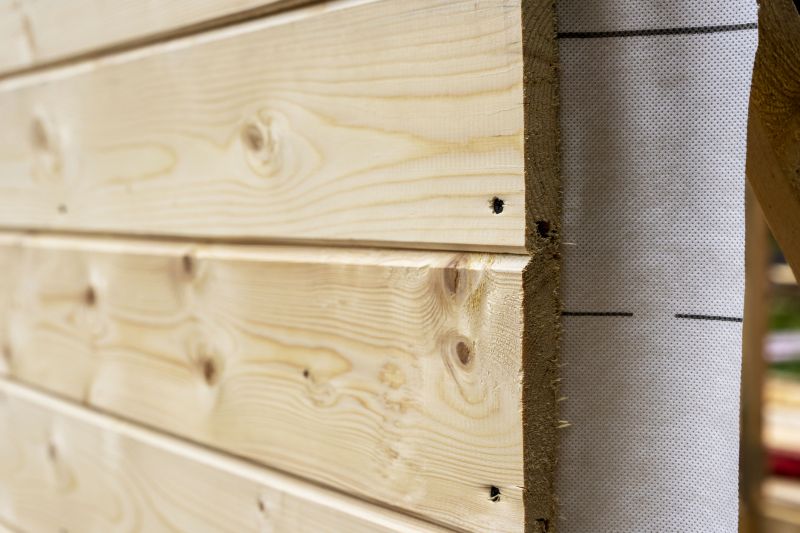
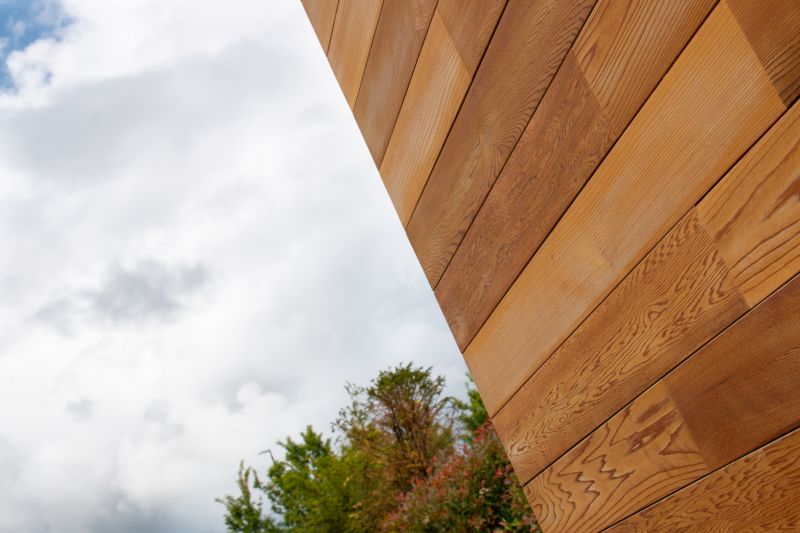

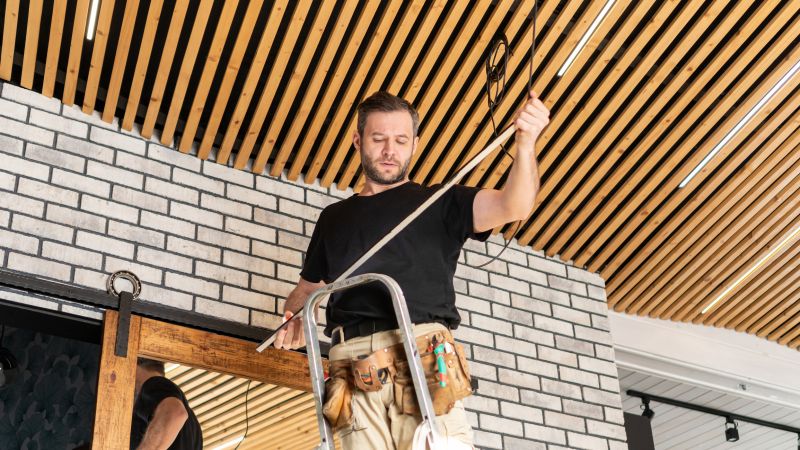
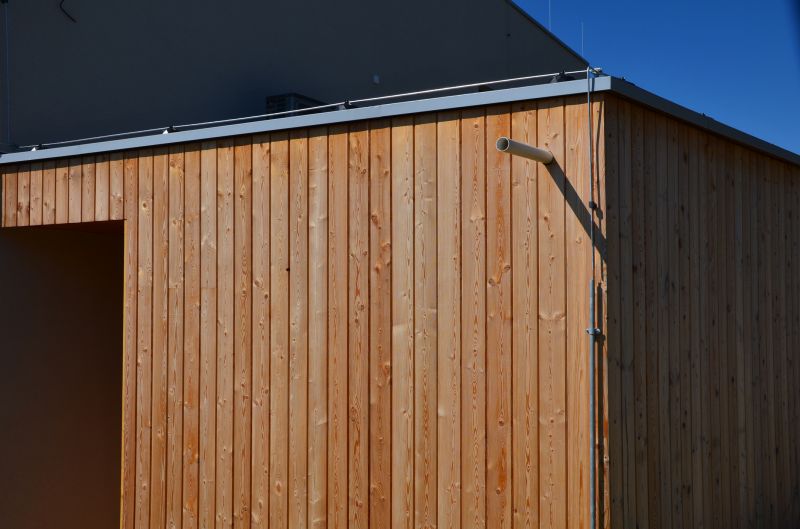
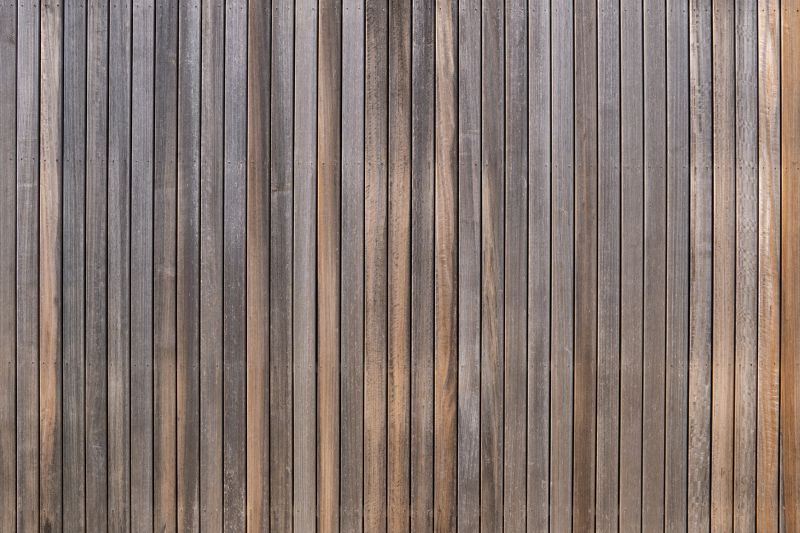
Wood cladding installation is a popular choice for enhancing the exterior or interior of a property, offering a natural and stylish appearance. Local contractors who specialize in this service have experience working with various types of wood and cladding styles, helping property owners achieve the desired aesthetic and functional results. These professionals handle tasks such as measuring, cutting, fitting, and securing wood panels, ensuring a durable and attractive finish that complements the building’s design.
Property owners often seek out local service providers for wood cladding installation when upgrading or renovating their spaces. Skilled contractors can assess the specific needs of each project, recommend suitable materials, and carry out the work efficiently. Connecting with experienced local pros provides an opportunity to compare options and find a service provider that aligns with the project’s scope and expectations.
This guide provides helpful information to compare and evaluate local contractors who offer wood cladding installation services. It aims to assist in understanding key factors to consider when planning a project. By highlighting what to look for, it helps visitors prepare to connect with the right service providers for their needs.